


Flush DNS Cache on Mac – Why Do you need to Do that?
DNS stands for Domain Name System or Servers. Whenever a website name is typed into a web browser’s address field, the address is converted into the respective IP addresses of their redirecting servers. The internet works on IP addresses and not domain names directly, thus the conversion is necessary. Although the internet consists of plenty of DNS servers in different hierarchies to make the IP to domain name conversion easy and fast, yet the local DNS host file plays a significant role in making the whole process fluid and error free. Flushing DNS host file will make any error to the DNS Cache file resolve.How to Flush DNS Cache on Mac
Similar yet the process varies across different platforms of the Mac OS X. The changes have happened mostly in OS X 10.10.4 and onwards.Flush DNS Cache on Mac OS Sierra, Yosemite or El Capitan: In any of these two Mac operating systems, the clear DNS cache terminal command is:
sudo dscacheutil –flushcache; sudo killall –HUP mDNSResponder; say cache flushed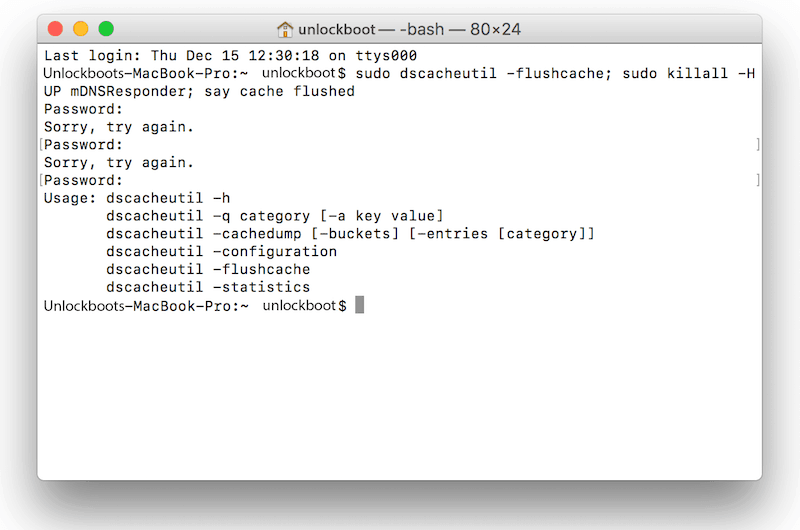
Flush DNS cache on Mac OS prior to 10.10.4: To clear the DNS cache in these Mac OS versions, clearing the MDNS cache and UDNS cache individually is needed. The terminal commands for this case are:
sudo discoveryutil mdnsflushcachesudo discoveryutil udnsflushcacheIn both of the cases, after entering the Enter button Mac OS would ask for the admin password.
However, if you don’t want to initiate these commands individually then type in the following:
sudo discoveryutil mdnsflushcache; sudo discoveryutil udnsflushcache; say flushedThis clears both the MDNS and UDNS caches together.
Flush DNS Cache on Mac OS X 10.9.5 and Older: The command is different; as following:
sudo killall –HUP mDNSresponderWorks in Mac OS X Mavericks, Mountain Lion, and Lion.
Flush DNS Cache on Mac OS X Snow Leopard (10.6 through 10.6.8): The command for the selected versions of Mac OS X is:
sudo dscacheutil –flushcacheVerify if the DNS Cache is Flushed
Using the ‘dig’ command in terminal, you would be able to see whether the DNS cache flushing has turned out to be successful or not. For example, type:dig unlockboot.comNow check if the DNS server sets that are being used are sluggish or smooth. Sluggish would mean the DNS flushing hasn’t worked well.
Conclusion: Terminal is a wonderful tool for the Mac users. As long as you know the appropriate commands, you could easily flush the DNS Cache in a Macintosh computer.

কোন মন্তব্য নেই:
একটি মন্তব্য পোস্ট করুন