Find my iPhone is an excellent built into the current iPhones. It
works as a protective shield against iPhone thievery, an iPhone that is
lost as mark as lost
via the iCloud website could never be used until the user remove iCloud
activation lock from the device and marks it back as found again.
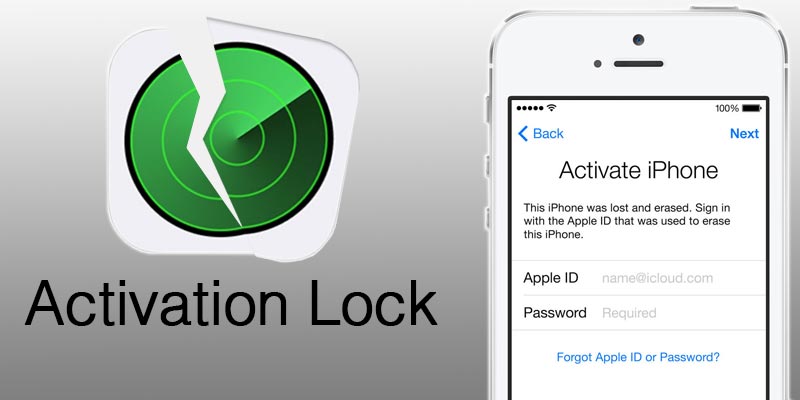
However, using appropriate iCloud credentials that the iPhone was initially signed up with the phone could be activated from the iCloud Lock from inside the phone. However, if the phone hasn’t been marked as found on Find my iPhone online, even an activated iPhone could turn into locked state again.
As it appears, disabling Find my iPhone could be necessary in many cases for iPhone users. For those who are new to iOS and iCloud might require a guideline, and that’s what we are providing today.
Disclaimer: Please use the guide in this post only for educational purposes.
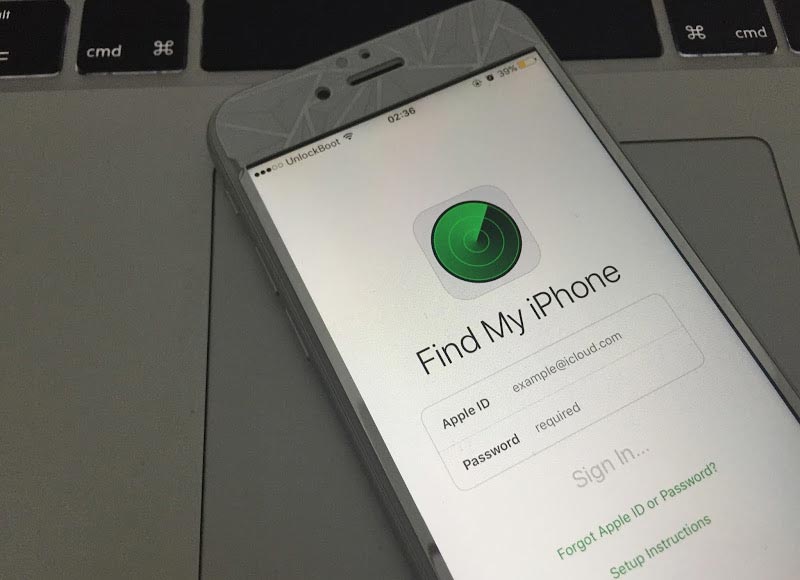
Step 2: On a jailbroken iPhone or iPad, download these apps from Cydia – iFile, iCleaner and iFirewall.
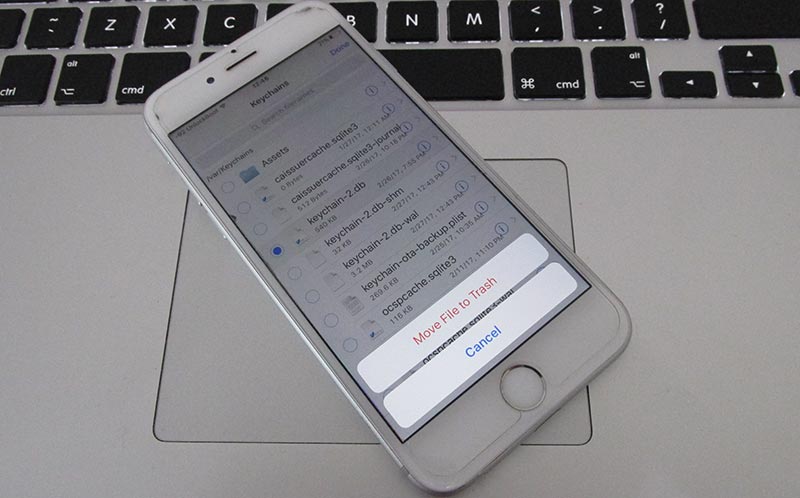
Step 3: Use these tools individually for specific functions. For example, the iFile app too would remove any stored password on an iOS device. Navigate to var/keychains/ and delete the database keychain-2.db.
Step 4: Press and hold down the power button. Restart the iPhone. Proceed with the next step.
Step 5: Using iFirewall, navigate to Settings and add a new rule by choosing ‘Deny All Connections’ from the menu that appears. Another rule for the website domain ‘com.apple.com’ needs to be added to block all incoming and outgoing connections to and from the iPhone you are doing these tweaks on.
Step 6: Now using iCleaner, go to the first page of the app and disable iCloud Daemon.
Step 7: Once all these steps are done, restart your iPhone again. Press and hold the power button, everything on the screen will be blurred away but the ‘Slide to Power Off’ switch.
Step 8: Once the iPhone starts again, navigate to Settings and navigate to ‘Find my iPhone’ inside iCloud. The settings there should now be turned off, you can now fully remove the iCloud account that was associated with the iPhone you are using.
Step 9: After getting this step done, re-enable iCloud Daemon using iCleaner and uninstall iFirewall iOS 7 using Cydia. Re-install the iPhone again.
Step 10: After the device starts, navigate to Settings and start setting up a new account. Since the previous accounts have been deleted via unofficial methods, an error saying ‘Server can’t establish connection’ might appear. Keep trying until it works. It usually does after few tryouts.
Step 11: Once the sign in process is complete, activate Find my iPhone for the new account that you have created on this new iPhone following the official methods.
Step 12: There’s one final yet very crucial part to complete right now. Sign into iCloud.com using your computer and localize your new device. Check if a new connection has been formed by trying to play a sound on your iPhone from the iCloud window. If it does, click on Erase iPhone from iCloud window.
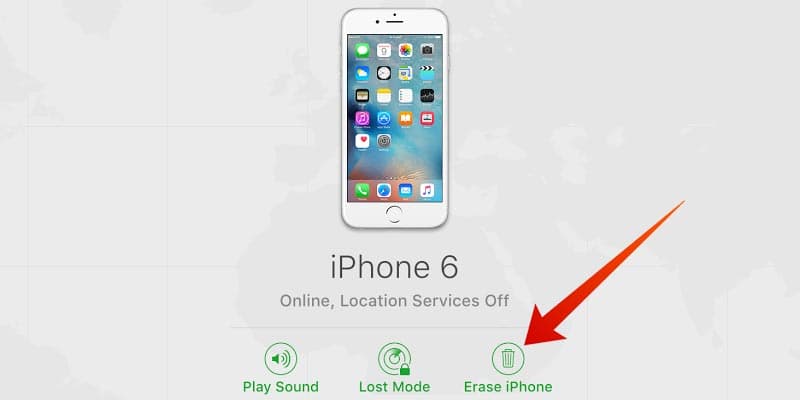
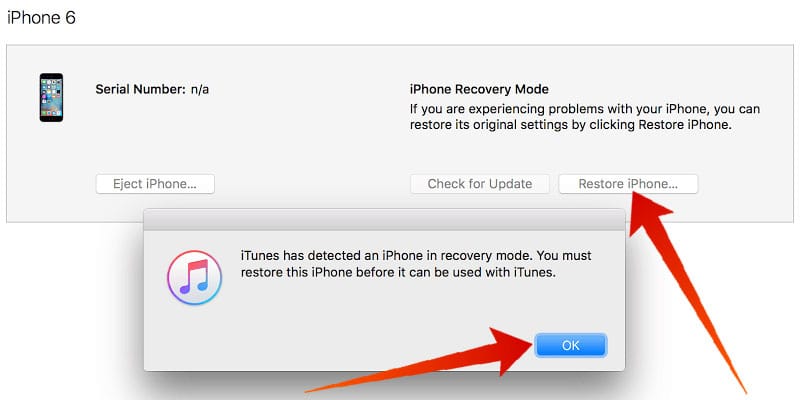
Step 13: The erasing process might get stuck, thus once it gets stuck when the erasing bar is almost towards the end; put the iPhone into DFU mode and restore using iTunes. Once the iPhone starts again, sign in with the Apple ID the iPhone had been erased with.
You’re done. The iCloud activation lock should be removed from your device. Now you can add new iCloud account on your device.

However, using appropriate iCloud credentials that the iPhone was initially signed up with the phone could be activated from the iCloud Lock from inside the phone. However, if the phone hasn’t been marked as found on Find my iPhone online, even an activated iPhone could turn into locked state again.
As it appears, disabling Find my iPhone could be necessary in many cases for iPhone users. For those who are new to iOS and iCloud might require a guideline, and that’s what we are providing today.
Disclaimer: Please use the guide in this post only for educational purposes.

Steps to Remove iCloud Account from iPhone or iPad with iFile
Step 1: This method requires an iOS device to be jailbroken if you want to remove iCloud activation lock. Using Yalu Jailbreak, the latest iPhones running latest iOS versions could be easily jailbroken. Click on this link to get to the Yalu jailbreak page where necessary tools and instructions are available. If your iPhone is already jailbroken you could skip this step.Step 2: On a jailbroken iPhone or iPad, download these apps from Cydia – iFile, iCleaner and iFirewall.
Step 3: Use these tools individually for specific functions. For example, the iFile app too would remove any stored password on an iOS device. Navigate to var/keychains/ and delete the database keychain-2.db.

Step 4: Press and hold down the power button. Restart the iPhone. Proceed with the next step.
Step 5: Using iFirewall, navigate to Settings and add a new rule by choosing ‘Deny All Connections’ from the menu that appears. Another rule for the website domain ‘com.apple.com’ needs to be added to block all incoming and outgoing connections to and from the iPhone you are doing these tweaks on.
Step 6: Now using iCleaner, go to the first page of the app and disable iCloud Daemon.
Step 7: Once all these steps are done, restart your iPhone again. Press and hold the power button, everything on the screen will be blurred away but the ‘Slide to Power Off’ switch.
Step 8: Once the iPhone starts again, navigate to Settings and navigate to ‘Find my iPhone’ inside iCloud. The settings there should now be turned off, you can now fully remove the iCloud account that was associated with the iPhone you are using.
Step 9: After getting this step done, re-enable iCloud Daemon using iCleaner and uninstall iFirewall iOS 7 using Cydia. Re-install the iPhone again.
Step 10: After the device starts, navigate to Settings and start setting up a new account. Since the previous accounts have been deleted via unofficial methods, an error saying ‘Server can’t establish connection’ might appear. Keep trying until it works. It usually does after few tryouts.
Step 11: Once the sign in process is complete, activate Find my iPhone for the new account that you have created on this new iPhone following the official methods.
Step 12: There’s one final yet very crucial part to complete right now. Sign into iCloud.com using your computer and localize your new device. Check if a new connection has been formed by trying to play a sound on your iPhone from the iCloud window. If it does, click on Erase iPhone from iCloud window.

Step 13: The erasing process might get stuck, thus once it gets stuck when the erasing bar is almost towards the end; put the iPhone into DFU mode and restore using iTunes. Once the iPhone starts again, sign in with the Apple ID the iPhone had been erased with.

You’re done. The iCloud activation lock should be removed from your device. Now you can add new iCloud account on your device.


কোন মন্তব্য নেই:
একটি মন্তব্য পোস্ট করুন